(or – how to chuck a heap of computers into a small space… to do SDR functions.)
So – One of my fellow Ham operators here in Canberra, Wade (VK1MIC) showed me a photo of his cluster of Pi computers connected to SDR dongles doing lots of interesting tasks, such as streaming audio from scanners, ADS-B, VHF WSPR, end lots of other stuff.
I got excited, as I saw how useful these little Pi computers can be in the shack. It also reminded me of when I was building my own cluster, but hit a road block associated with how to sensibly mount the various boards without stuff lying all over the bench.
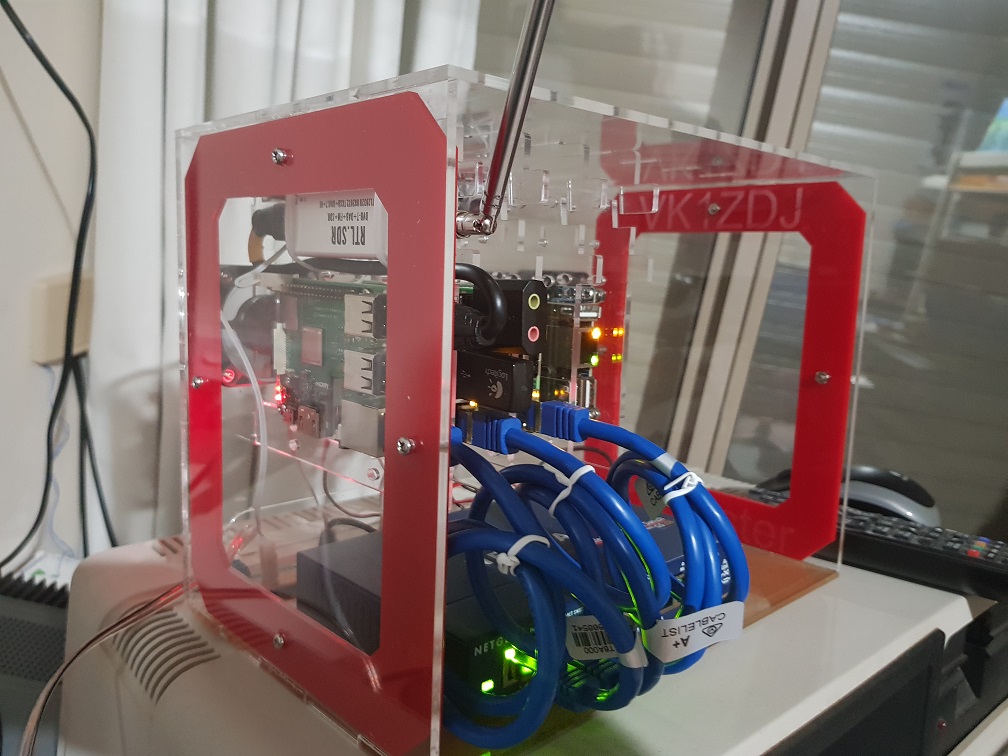
A quick web surf later and I found an awesome case designed by C4 Labs, the Cluster case ( https://www.c4labs.com/product/8-slot-stackable-cluster-case-raspberry-pi-3b-and-other-single-board-computers-color-options/ ) I liked the idea, but decided I needed to modify its height to allow the RTL-SDR dongle to be mounted inside the case. A couple of hours in front of the CAD software and laser cutter and I had an effective prototype.
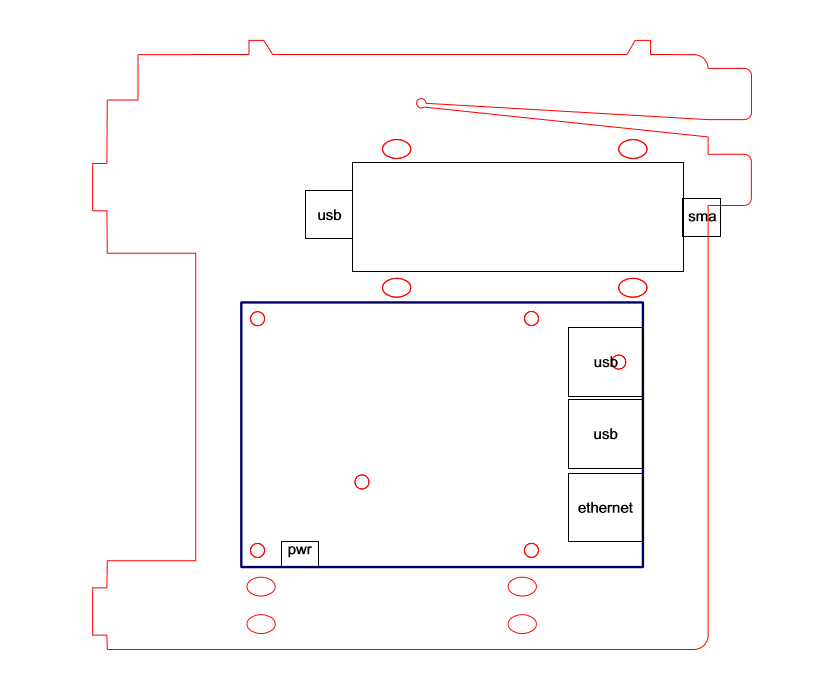

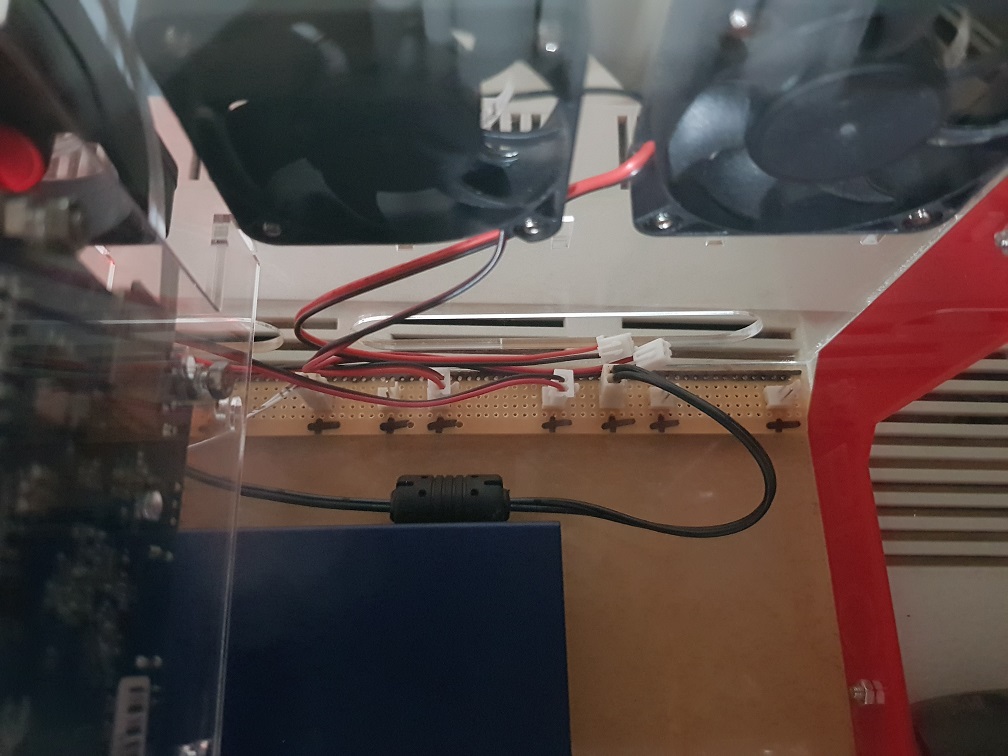
When I designed the case, my focus was on making sure that the entire project was capable of running on 12V, so each card has a 12V -5V buck converter installed. I ran a bus system based on keyed 0.1 inch connectors that are easily available from Jaycar mounted on a strip of Veroboard.
When I designed the frame supports, I was also careful to design a mount for a 2.5″ SDD, connected through a USB-SATA interface.
I had to make some custom USB extension cables, so I used a Jaycar USB-A to USB-A bacle that I cut in half, and soldered a Jaycar USBA Socket (PS0924 – https://www.jaycar.com.au/usb-type-a-pcb-mount-socket/p/PS0924 ) It was surprisingly simple to hand solder the cut cable onto the socket – I used a bit of heatshrink to protect it.
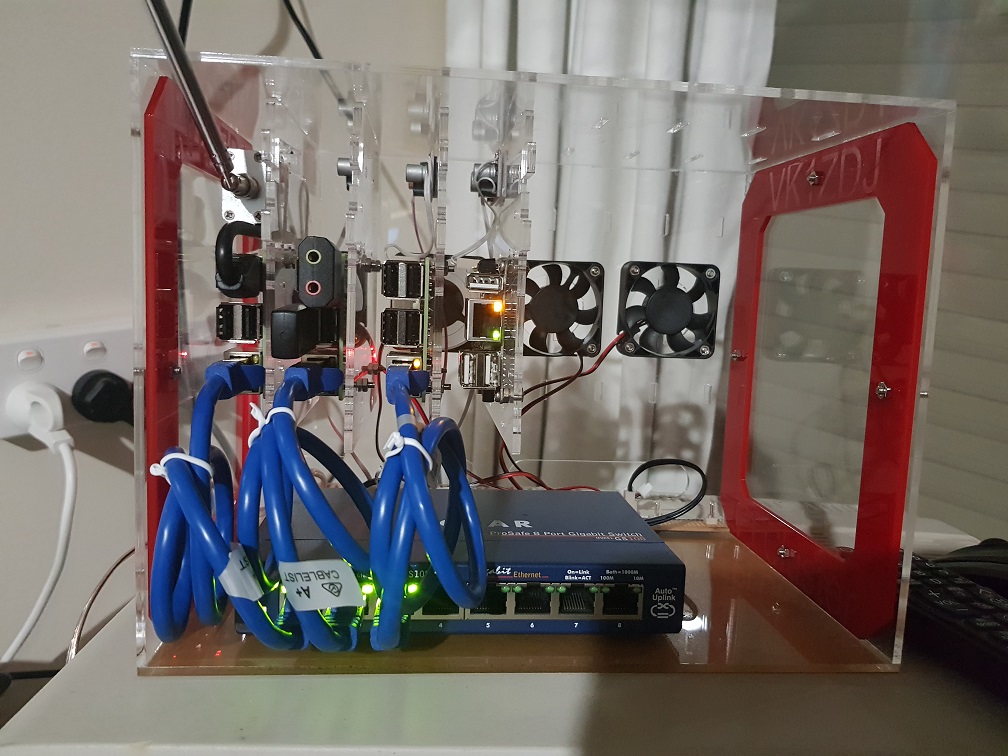
The switch that I used is a secondhand Netgear GS108 – Is is a gigabit switch that can be run from 12V. I designed ample space at the bottom of the enclosure to allow installation.

Initially, I downloaded a standard version of Rasbian, and installed the standard SDR Shard software. Unfortunately, the result was terrible, with even WBFM Broadcast audio being jittery and blocky. So I searched for an alternate. I eventually found the amazing custom Pi Image developed by Luigi Freitas – PISDR ( https://pisdr.luigifreitas.me/ ) Installing it was simple, and it worked beautifully.
I have three cards installed at the moment, with space for two more and couple of SSDs. In all I’m pretty happy with the project so far.


Nice!
So what is the frequency range that your setup is studying?
Hi Greg, Most of my work is VHF and UHF. I am starting work on a Discone that will provide a nice broadband antenna.